Monday, July 27, 2009

Entrelac

When Lady Eleanor was making the rounds, I managed to miss the train. On Friday, some friends asked me if I could help them learn entrelac. I love to learn something new and help out, so off to the learning process I went. There are some good tutorials out there already (here and here) but I felt compelled to take photos of my process as I went along anyway.

Curious about how an entrelac scarf looks as we go along? It's kind of like sausage... you may not want to see the messy process but the outcome is all nice and tidy. And with that type of introduction....

I'm using Allison LoCicero's Entrelac Scarf pattern. Here's the process of my learning.

After casting on 24 stitches normally, you create three triangles to start. This serves as a bit of a set up "row".

One ...


This is where things are going to feel wierd to the newbie. You have 8 stitches caught up in the triangle and 16 stitches are just hanging out there doing nothing. Then it's time to do triangle Two ...


Now you start to see what's happening. You have little triange that are attached at the tail.

Then three ...


From here the patterns repeats two "tiers" over and over in alternation.

Tier 1 involves a triangle ...


then a square (or really more of a rectangle or parallelogram if you look closely) ...


then a second square ...


and then a final triangle...


You have a full width scarf now, but it doesn't really look like it. You really need to finish more to see the effect.

Tier 2 involves three squares knit one after the other, all the same...


Here's where I am with the starter triangle row, two Tier 1s, and two Tier 2s ...


You can definitely see the pattern clearly now and get a sense of what the final scarf will be like. An interesting technique with lots of depth.

It seems a little strange at the start with all the short rows and the incomplete sections (especially on the triangle row you start with and the first tier 1, but after you get the sense of where things are going, no difficulties. At first I had to pay alot of attention to when to turn and when not to, when I was to pick up and purl versus pick up and knit. Now, even after this little progress, it makes sense. I've even found myself not really needing to count rows. Once you know what's going on, the end of a square or triangle becomes obvious. The pattern is nice because you can follow the instructions literally until you get the idea then you can just use it as a reminder later.

Bring on the students!
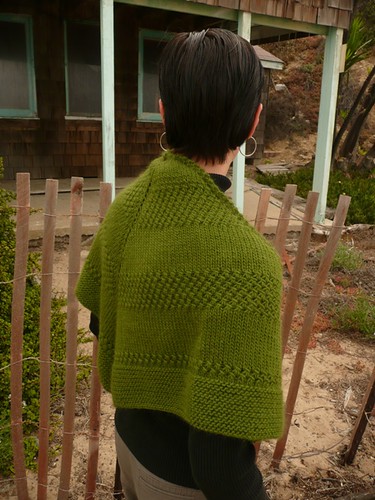
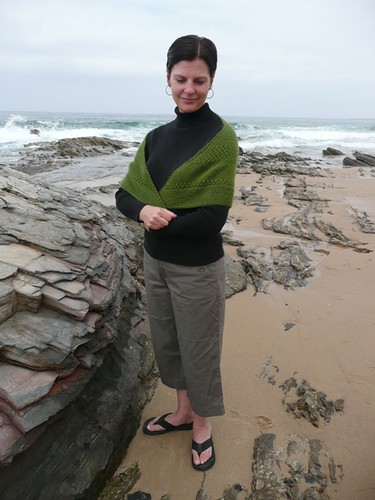
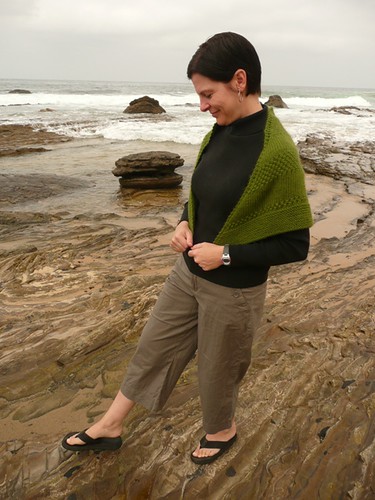
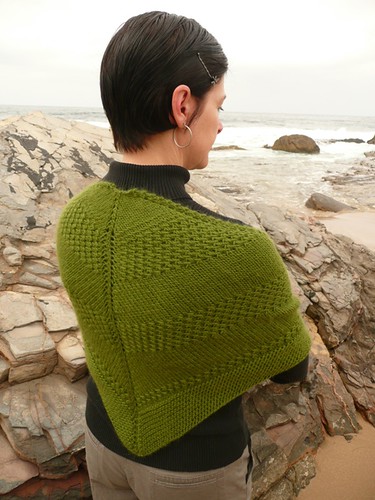
Yarn: Plymouth Boku
Ravelry'd here

Saturday, July 25, 2009

Crochet to the market

Yes my friends, I've engaged in crochet once again. I find it a nice diversion from my other knitting project right now which is miles, and miles (and did I mention miles) of stockinette stitch. Since that isn't all that exciting to show or talk about, I haven't blogged it yet. Hopefully it will look like something other than a blob before too much longer and will be blog worthy.


This stroll down the dark side came in the form of a market bag ... another easy beginner pattern.


After all, who ever has enough bags for produce from the farmer's market?


Crochet Grocery Bag by by Haley Waxberg
F 3.75 mm crochet hook
Lily Sugar'n Cream Solid
Colorway: hot purple and soft ecru
<1 skein of ecru and most of the skein of purple
Cast on July 17, 2009
Finished July 22, 2009

Mods: I accidently made more dcs into the initial circle and ended up with 10 spaces so I just kept with that which made the whole bag a bit wider (45 spaces at the widest). I also extended the handles to 44 chains so it would fit on my shoulder. Last, even though the pattern doesn't specify color changes, I used the ecru for rows 17-24 (of 28) for a bit of color contrast, rather than purple throughout.

Ravelry details here.

Monday, July 13, 2009

Hard work

Who said summer is a time for vacation? They lied. S and I have been doing too much hard work this summer. This weekend was definitely the most labor intensive weekend thus far this summer as we re-did our back patio.

When we first landscaped our yard, hmmm 3 years ago I guess, we jackhammered out an old ugly concrete patio and saved the concrete pieces to use like flagstones. We planted small ground cover between the stones. That looked great for a while ... but then the clover came. I don't know if you've ever had a clover invasion, but it takes over everything ... the ground cover didn't stand a chance. Once the plants and the clover were dead, we had dirt. Not very pretty. We've been talking about fixing this problem for some time and S decided this weekend it was time.

So first we removed all the concrete.


Then we added some sand and added all the concrete back.


Then we added more sand between the concrete.


Then we finished up with river stones between the concrete.


Thank god the final product looks decent, because it is hard work to carry, move, dump, spread, and otherwise manipulate concrete, sand, and stone. And did I mention that I got above 100 degrees F this weekend?


I'm ready to just sit around in the yard for awhile.

Thursday, July 09, 2009

Crochet... who me?


Yes me! Three weeks ago (wow, time does fly), the owner of my new favorite LYS, the PurlSide, had a crochet class. I've been wanting to learn to crochet so I could do just this hat, the Inauguration Chapeau, designed by a blogger I follow regularly, Ellen Bloom.


For my first ever crochet project, I'm pretty pleased with how this turned out! I had to rip back almost to the start the first time I began the hat just because of beginner's stupidity in interpreting the pattern (there are 12 posts -- vertical stripes that go from crown to brim on the hat... I amazingly turned that into 24 and had a very frilly placemat going for while!). With a little help from the girls at my weekly knit-night, I got back on track and a short time later had this divine little hat.

Thanks for such a super pattern Ellen!


Inauguration Chapeau by Ellen Bloom
US US 5 / 3.75 mm, US 6 / 4.0 mm, US 8 / 5.0 mm, and a US 9 / 5.5 mm crochet hook
Patons Classic Wool Merino
Colorway: leaf green
<1 skein
Cast on June 18, 2009
Finished July 6, 2009

Ravelry details here.

Sunday, July 05, 2009

Chicken coop city around here!

So as I mentioned in a previous post, last weekend the chicks made their big move from the house (inside) to the outside. That meant we had to take the four walls we had been using as an indoor coop, add to them a floor and roof, and, oh yeah, take it outside.


This is the house itself at the end of our first day of work. Cute I think. You can see the big door -- the people door -- that's for us to get in and out to clean the house and refill food and water. At the bottom left is where the pop door for the chickens is. In the picture above you can just see where the hole is; we actually have a flat door that slides in from the left to right to cover the door hole and close up the house.


After a second full day of work, we also had a run!


The idea here is that during the day the girls will have the "run" of both the house and the run and at night we'll be able to securely shut them up into the house to sleep.


You can see in this last picture that they are just as happy as can be in the run, scratching at the dirt. Dirt baths have become a BIG favorite around here too.


It was quite hard for me to actually move them outside. I really gained some appreciation for the concept of an empty nest. The first couple of nights I slept in the back room with the windows open so I could hear if they called out in distress. I'm happy to report though that they have taken to the outside like pros. They seem very happy with the extra room and like traveling back and forth between the house and run.

So our urban homestead seems to be in full swing now. Here we are, garden and chickens all residing next to our patio and deck. Gotta love it!

Thursday, July 02, 2009

Textured Shawl done

Yes... it may seem miraculous... but in the blog silence I have done a small, very small, amount of knitting. And here to prove it is my most recent finished object, the Textured Shawl.


Years ago, I purchased 2 skeins of super soft suri merino as a yarn souvenir during a trip to Philadelphia. A few weeks ago, it suddenly dawned on me that the textured shawl would be perfect for it … a pattern already in my favs on Ravelry and designed for this exact yarn.


The pattern is essentially a recipe and is easy, with great results.


And the shawl, super warm and soft.


I was excited that when I finished this girl up we had the trip to Crystal Cove State Park scheduled. It was the perfect place for a photo shoot and we had perfect weather for it. We took photos early in the morning when we still had the marine layer, nice and overcast and just cool enough, even though it was June.


Looking for a good way to use up some special wool? This one is a winner!

Textured Shawl recipe (free pattern on ravelry) by Orlane
US 9 circulars
Blue Sky Alpacas Suri Merino
Colorway: garden (an emerald green)
2 skeins (and I used every inch... ok, I literally had one inch of yarn left when I was done... I had to use the cast on tail to finish binding off!)
Cast on May 28, 2009
Finished June 18, 2009

Ravelry details here.